How to Turn a Bottle Stopper |
 |
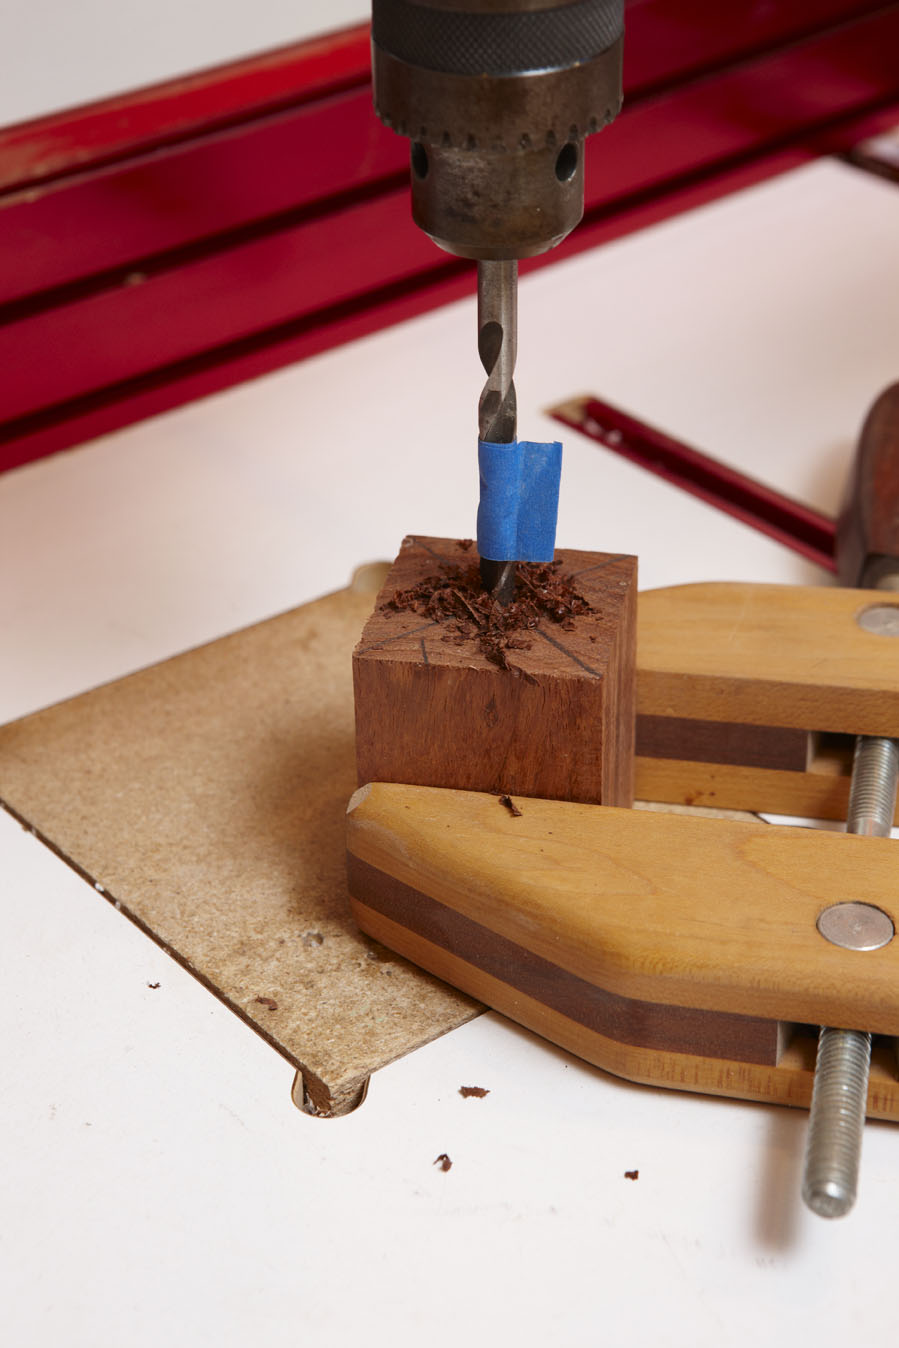
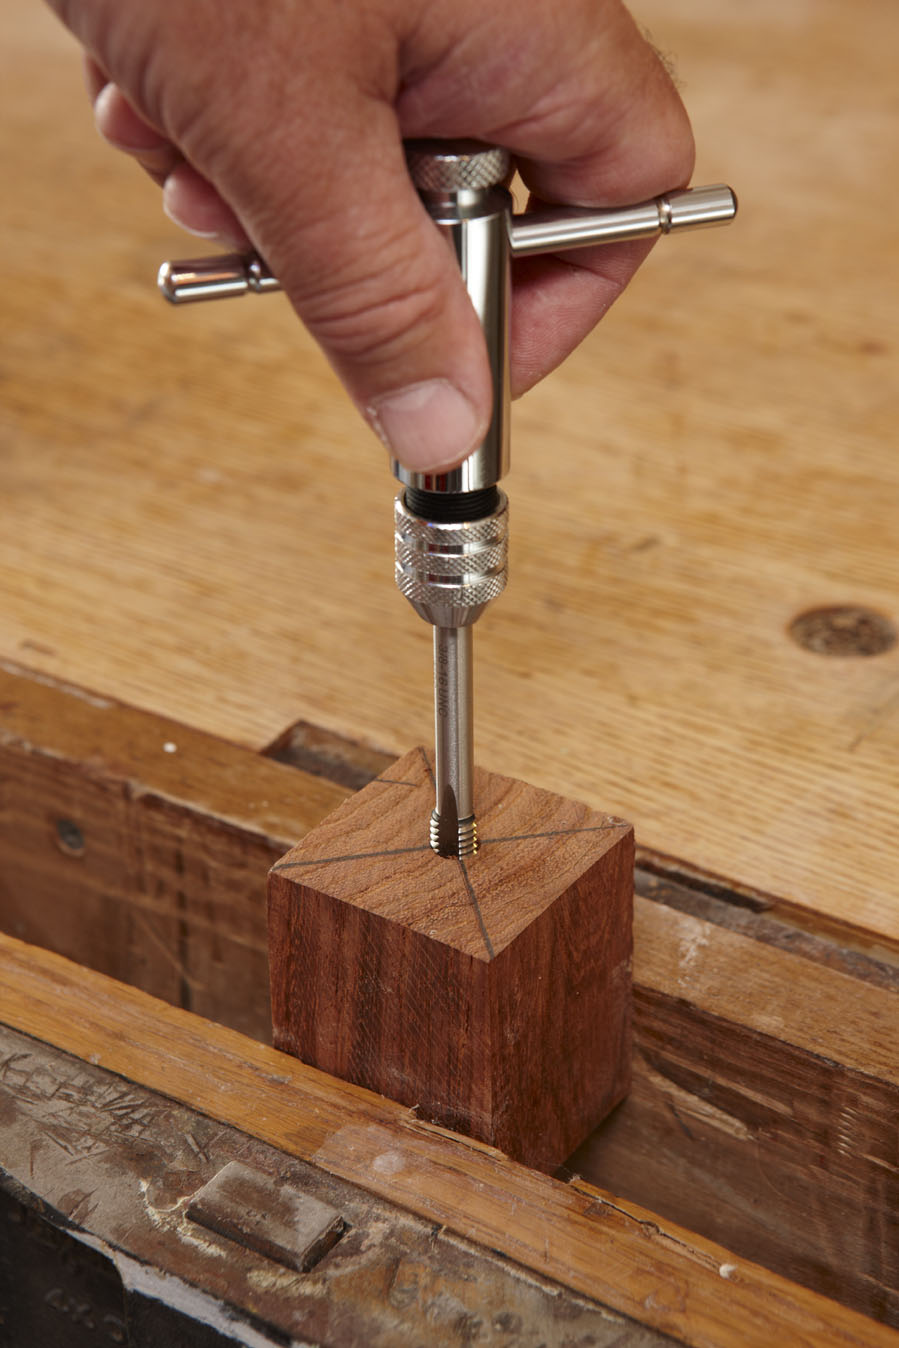
1. Cut a piece of stock to 2x2" square by 2�" long for the stopper blank. Crosscut the ends for flat, parallel surfaces. Since you’ll be using such a small amount of stock, look for the most figured wood you can find. 2. Mark diagonals on both ends of the blank to find centers. Use an awl and mallet to make a small indentation at each centerpoint. 3. Set your drill press to 1,200 RPMS or slower, and using a small handscrew clamp like shown in TIP: A piece of masking tape wrapped around your drill bit �" from the end of the bit provides a visual stop for drilling the correct depth hole as shown in Photo 1. I overlap the last 3/8" of the tape to create a “flag” that makes it easier to see when the tape contacts the blank. |
|
|
|
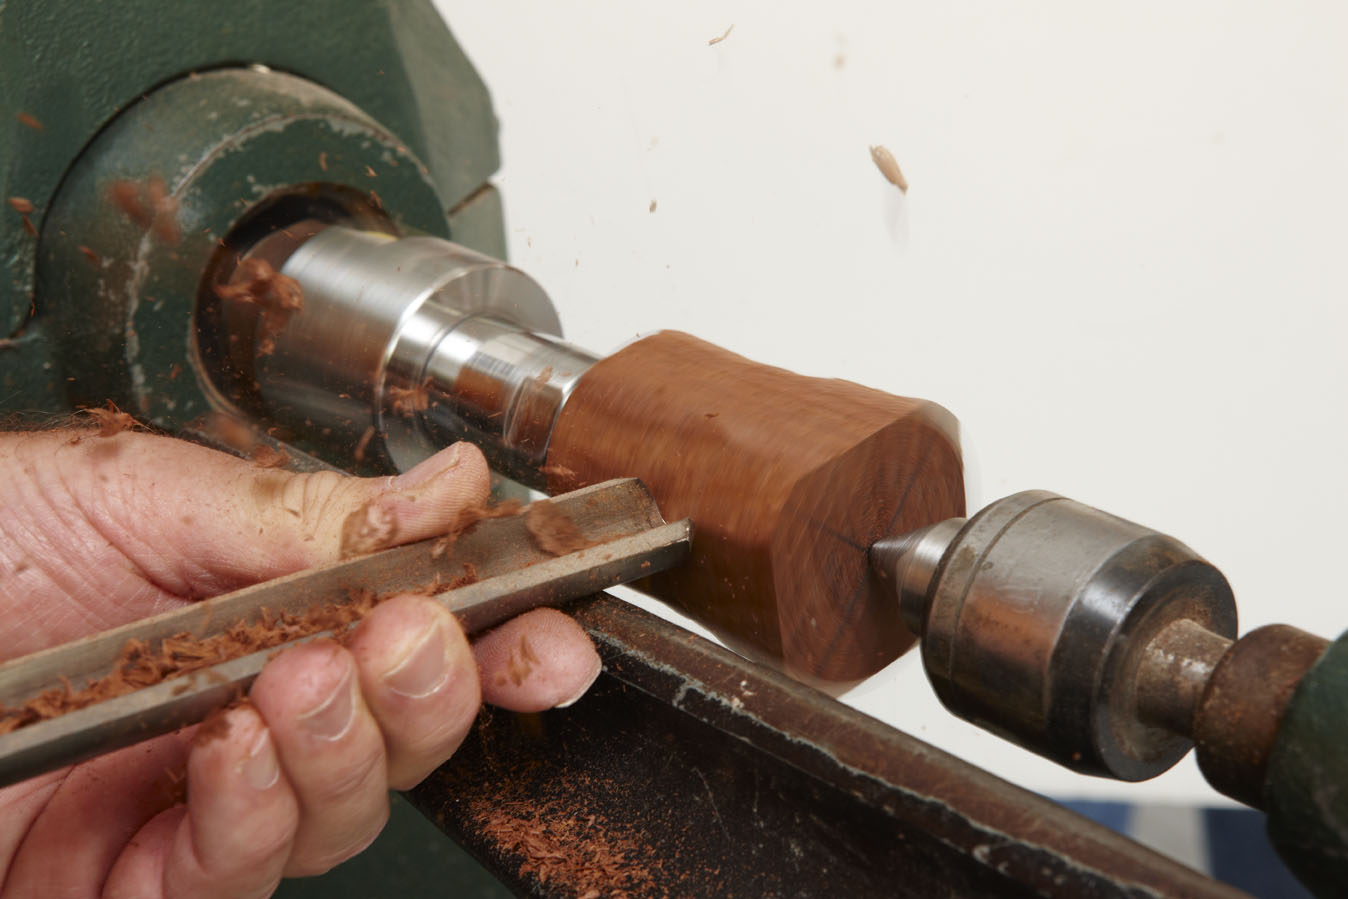
4. Thread the appropriate-sized bottle stopper screw chuck onto your headstock spindle. Just as the threading on headstock spindles comes in different sizes, so do Penn States chucks. 5. Thread the bottle stopper blank onto the threaded end of the chuck, drawing the bottle stopper blank flush (no gap) with the face of the chuck. 6. Move your tailstock cone center into position to support the exposed end of the bottle stopper blank. Fit the end of the cone center into the indented hole in the blank. 7. Position your tool rest just a bit below the center of the mounted blank. Set the lathe to a speed of about 1,500 RPM and with a spindle roughing gouge turn the blank round as shown in Photo 3. |
|
|
|
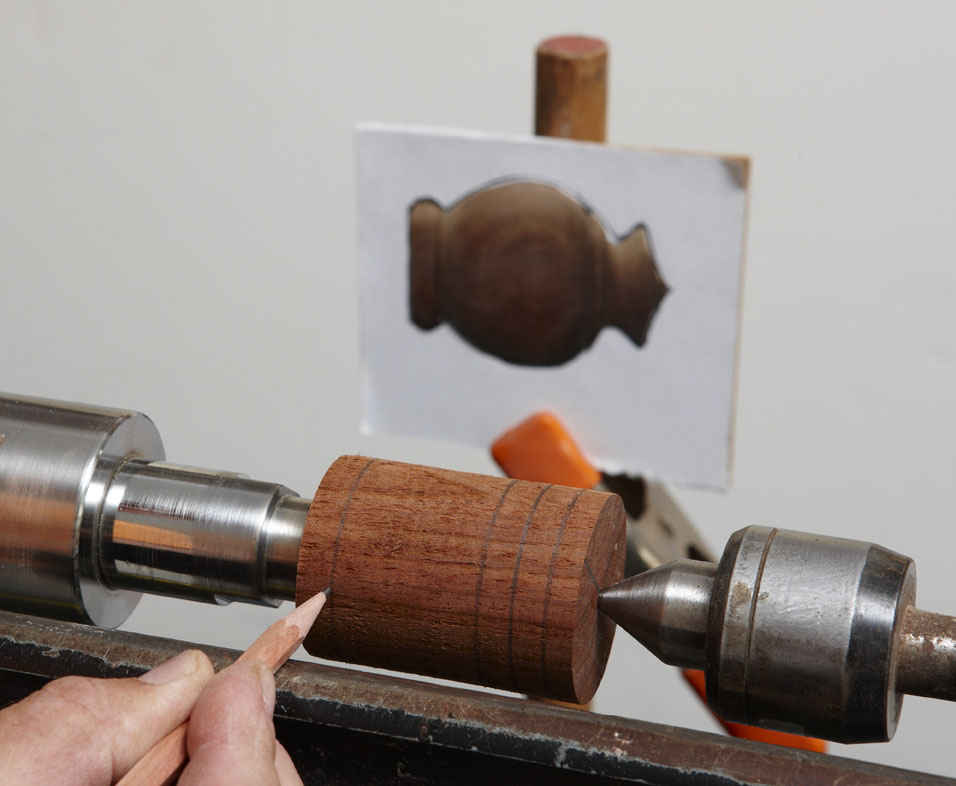
8. At this point make sure you have a good idea of the stopper shape you want to end up with. Consider what will be comfortable in your hand when inserting and removing the stopper from a wine bottle. Find a photo of an existing stopper that you like or make a pattern of the final shape, and adhere the pattern to a piece of cardboard or thin stock using spray adhesive. Transfer the profile reference lines to the stopper blank as shown in Photo 4. Placing the pattern or image behind your lathe provides a good visual reference when turning the blank to shape. |
|
|
|
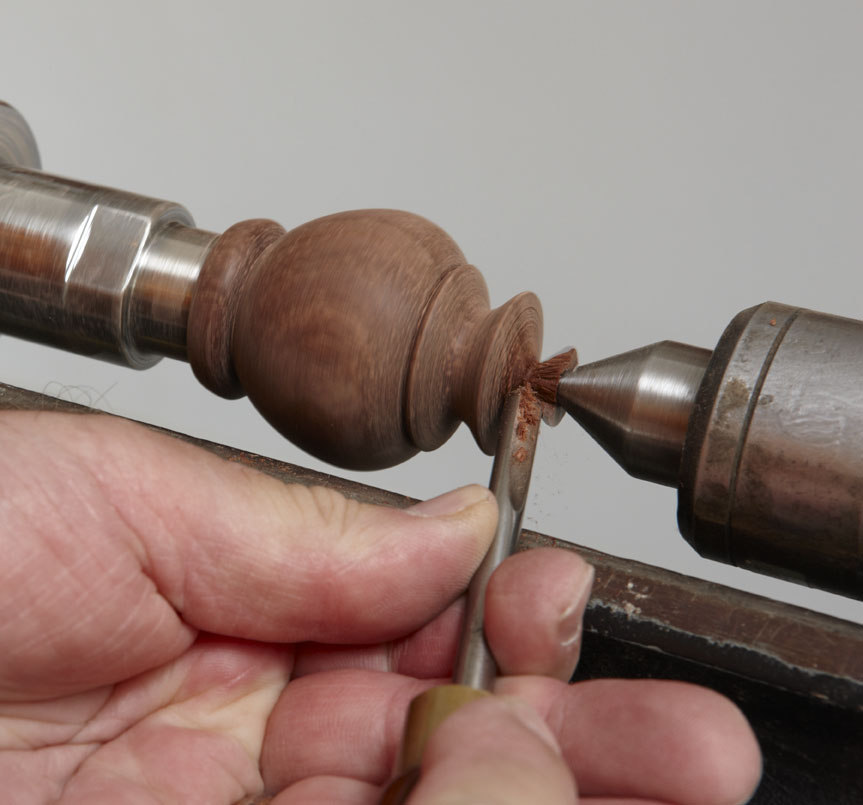
9. Turn the blank to shape using the reference lines and pattern as guides. Use small gouges and skews for intricate cuts. As you turn the top end to shape, leave just enough material next to the cone center for sufficient support when sanding in the next step. 10. Finish-sand the turned stopper through at least 400-grit paper. If your lathe has a reverse, consider lightly sanding the stopper in reverse at the different grits. When sanding in one direction, some wood fibers may lay down, but if you sand in reverse, the micro fibers will be cut off with the abrasive, creating a very smooth surface. 11. Turn the end of the stopper next to the cone center to final shape as shown in Photo 5. Back the tail stock away from the stopper. Finish-sand the end smooth. |
|
|
|
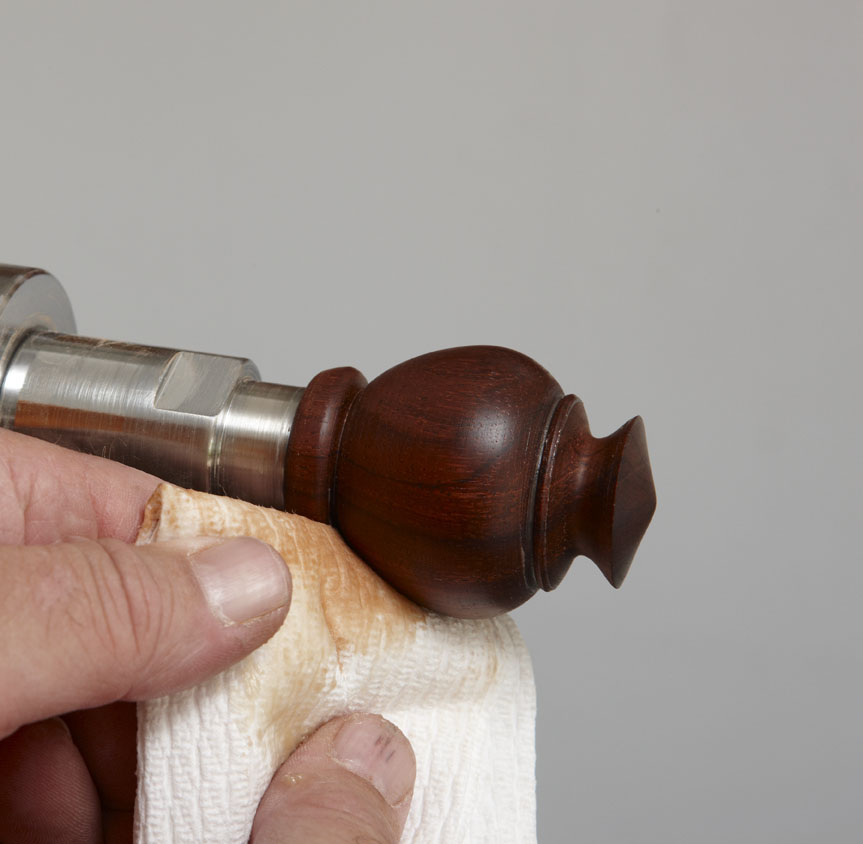
12 . Stop the lathe off and apply a small amount of EEE Ultra Shine to the stopper with a clean lint-free cloth. Turn the lathe on at a slow speed, and use a clean cloth to even out the abrasive paste over the entire surface of the stopper as shown in Photo 6. Increase the lathe speed, and buff the bottle stopper. EEE Ultra Shine contains ultra-fine abrasives (tripoli powder) that enhance a 400-grit finish to 2000--grit finish. |
|
|
|
13. Apply a coat of Shellwax cream to the bottle stopper, and allow it to dry for a few minutes. Start the lathe and at a speed of 1800 RPMS or slightly faster, buff the finish smooth. Applied over the EEE Ultra Shine, one application of Shellwax cream is sufficient. 14. Unthread the finished stopper from your lathe headstock. Apply a small amount of cyanoacrylate or epoxy into the hole in the stopper and thread the metal bottle stopper into the turned stopper. The metal should seat tightly against the bottom of the turned stopper. Immediately wipe off any adhesive squeeze-out being careful not to wipe any onto the turned stopper. If you enjoyed making the stopper, consider turning a number more � they make great stocking stuffers. |
|
|
Bottle Stopper Blank Assortment (5 Pack). 2" x 2"x 2- 3/8". Ideal for bottle stoppers and egg kaleidoscope projects. Assortment pack contains on each of: Cocobolo, Bocote, Padauk, Bubinga, and Zebrawood. Item #:WXPCWIDE, $16.95. (reference URL: http://www.pennstateind.com/store/WXPCWIDE.html) Chrome-Plated Wine Bottle Stopper. Includes chrome-plated stopper, threaded coupler insert, and six-ring silicone plug. Item #: BS1, $3.45 each, buy 10 or more for $3.20 each. (reference URL: http://www.pennstateind.com/store/BS1.html) Bottle Stopper Lathe Chuck. The 1" x 8tpi chuck includes a 23/64" drill bit for drilling the hole into the stopper that the chuck stud screws into. Item #: PK-BS1-MJ, $9.95. (reference URL: http://www.pennstateind.com/store/PK-BS1-MJ.html) Bottle Stopper Drill & Tap Set. Set includes a 5/16" drill bit, a ratcheting reversible handle, and a centering tap to thread a 3/8" thread into your blank. Works great on wood, acrylic or any other machinable material. Item #: BSTAPSET, $16.95. (reference URL: http://www.pennstateind.com/store/BSTAPSET.html) 23/64" High-Speed Steel Brad-Point Drill Bit. Item #: PK-2364, $3.95. (Referecne URL: http://www.pennstateind.com/store/PK-2364.html) EEE-Ultra Shine Paste Wax, 250ml/8.6 fl oz. Use Ultra Shine as the last sanding step before applying the final finish (eg. Shellawax, Hut wax, etc.). Ultra Shine contains ultra-fine abrasives (Tripoli powder) that will enhance a 240 grit sanding step to 1200 grit or more and enhances a 400 grit finish to 2000 grit. Works on both woods and plastics. Item #: PKSWEEE, $18.95. (Reference URL: http://www.pennstateind.com/store/PKSWEEE.html) Shellwax Cream, 300ml Jar. Provides a flawless, non-streaking finish on large and small turnings. Creamy consistency makes it easy and safe to apply, and it buffs to a rich, deep durable shine on wood carvings or flat wood. Shellawax is a "friction polish" that dries almost instantly while applying on the lathe, producing a wonderfully brilliant shine in seconds. Non-toxic and water resistant when dry. Formulated from an exclusive combination of dewaxed white shellac and a variety of fine finishing waxes. Item #: PKSWAX, $32.95. (reference URL: http://www.pennstateind.com/store/PKSWAX.html) |
|
